
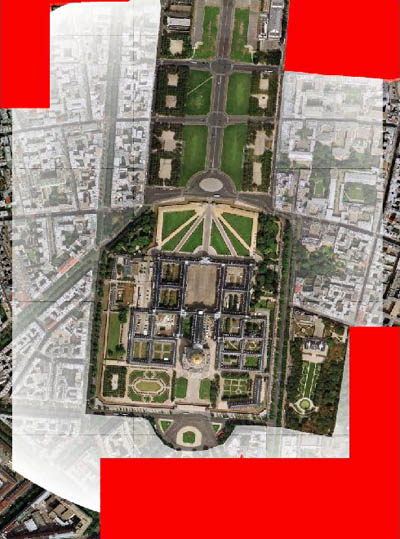
The source image has areas painted pure white as a Null Value. This means that they would be transparent and display the underlying default ground textures:
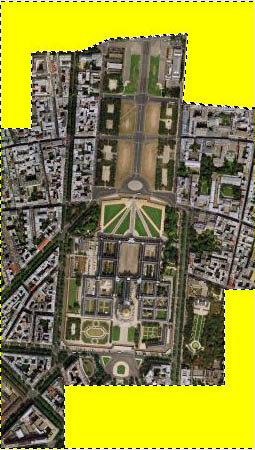
And here is the associated Blend Mask that gradually fades the custom ground out to the default textures:
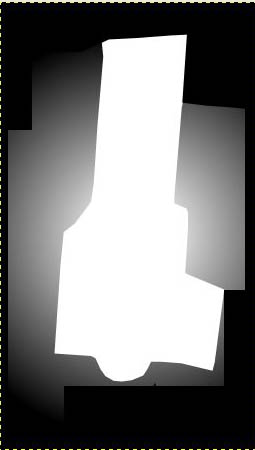
In the Blend Mask, of course, pure white is completely opaque and pure black is completely transparent.
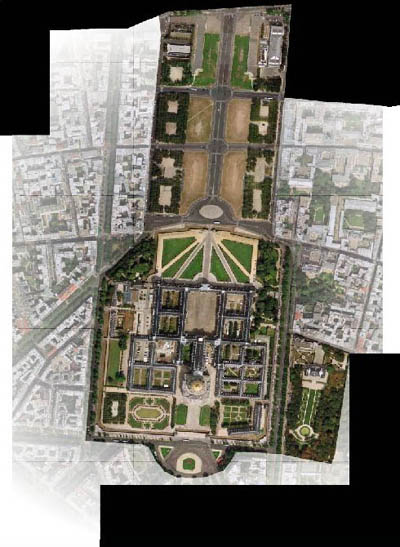
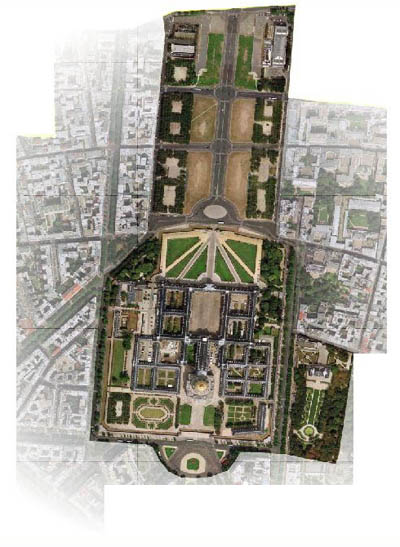
When compiled, this is the result:
The transparent part of the Blend Mask over the Null Value in the source image has created a black border in the custom texture.
What happens with other colors? For example, making the transparent (pure black) part of the Blend Mask opaque (pure white) on the crazy theory that then the Null Value in the source image would dominate:
This gives an even stranger result in the custom ground:
By changing the area in the source file that is painted pure white to some other color:
the Null Value is no longer active and the resulting ground textures appear normally:
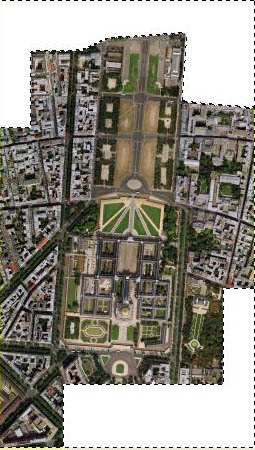
As expected, the source image is gradually blended out to pure transparency by the Blend Mask.
Conclusion: a Blend Mask and a Null Value do not go together very well. If using a Blend Mask, we should avoid Null Values in the source image, that is, let the Blend Mask handle the transparency instead of the Null Value.